DIY: Glitter Jars
Running out of ideas to keep those energetic kids occupied? We’ve got an easy answer that’ll help them keep calm and glitter on! A step-by-step guide for DIY glitter jars is below. Helpful hint: have the vacuum handy.

What you’ll need:
- An empty mason jar (or plastic water bottle)
- ½ cup of liquid glue (clear or glitter)
- Distilled water
- Hot glue gun or super glue
- GLITTER!!
Step 1: Pour a ½ cup of distilled water into your mason jar. Using distilled water instead of tap water will keep your glitter jar free from contaminants like mold (yuck!).
Step 2: Pour a ½ cup of glue into the jar.
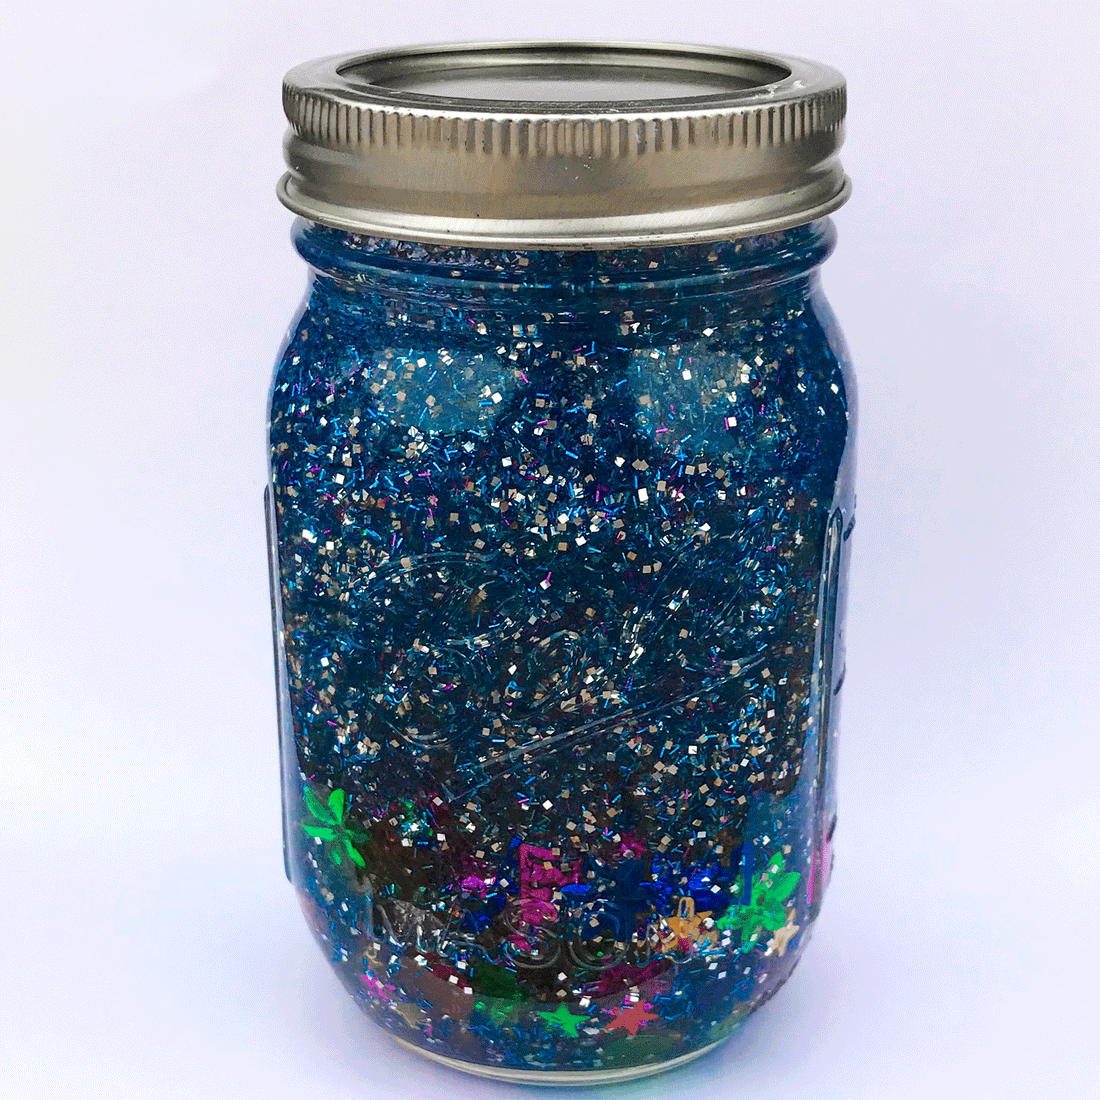
Step 3: Sprinkle 1-2 teaspoons of glitter into the jar. We recommend using a variety of glitter to make your jar sparkle! After all, more shapes and more colors = MORE FUN! We used Yoobi Glitter Shakers, Yoobi Flower Glitter, Yoobi Star Glitter, Yoobi Party Hat Glitter and Yoobi Heart Glitter.
Step 4: Fill up the remainder of the jar to the top with distilled water.
Step 5: Using a hot glue gun, put a ring of glue around the lid. Place the lid on, making sure it’s secure.
Step 6: Shake, shake, shake the jar!
And that’s all there is to it! Now you've got a glitter jar to soothe and sparkle! ✨
We can't wait to see what you create! Don't forget to tag us on Instagram @yoobi so we can see your wonderful work! 😊